
You've unboxed your ASIC miner (e.g., Antminer, Whatsminer, or Avalon), connected it to power and the internet, and the fans are roaring. Now comes the most important step: Connecting to the pool so you can start earning money.
In this guide, we will show you how to connect your miner to Gokby in less than 5 minutes.
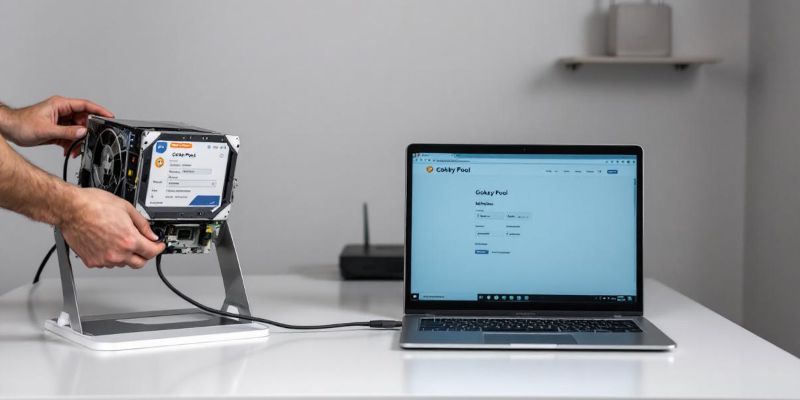
Step 1: Find the Miner's IP Address
Your miner doesn't have a keyboard or screen. To configure it, you need to access it via your computer. To do this, you need its IP address on your local network.
- Download a tool like “IP Reporter” (for Antminers) or a general network scanner like “Advanced IP Scanner.”
- Start the program and press the small “IP Report” button on the miner itself for a few seconds.
- The software on your PC should now display the IP address (e.g.,
192.168.1.50).
Step 2: Log in to the Web Interface
- Open your browser (Chrome, Firefox, etc.).
- Type the IP address you just found into the address bar and press Enter.
- A login window will appear.
- Default Username:
root - Default Password:
root
(If this doesn't work, check the manual or the sticker on the device).
- Default Username:
Step 3: Enter Pool Data (Miner Configuration)
Go to the menu tab labeled Miner Configuration or Pool Settings. You will usually see three fields for "Pool 1", "Pool 2", and "Pool 3". We will enter Gokby as the main pool.
URL (Stratum Address):
This is the address of the Gokby server. You can find this on our homepage or in your dashboard.
Example:
stratum+tcp://btc.gokby.com:3333 for PPLNS
stratum+tcp://btc.gokby.com:3366 for SOLO
(Make sure to choose the correct port for your region to keep latency low).
Worker (Username):
This is the most important field! Here you tell the pool who should get credit for the work.
The format is usually: YourWalletAddress.WorkerName.
- Example:
1A1zP1eP5QGefi2DMPTfTL5SLmv7DivfNa.Miner01 - The part after the dot (
Miner01) is up to you. It only helps you distinguish your devices in the dashboard (e.g.,Basement,Garage,S19_Left).
Password:
This field is usually unimportant for payouts but necessary for the connection.
- Simply enter
xor123.
Step 4: Failover Pools (Redundancy)
It is smart to enter Gokby addresses in "Pool PPLNS" and "Pool SOLO" as well (perhaps with different ports, e.g., :3333 or :3366), just in case the main port is briefly unreachable due to maintenance. This ensures your miner keeps running without interruption.
Step 5: Save and Reboot
Click on Save & Apply at the bottom right.
The miner will now save the settings and restart the mining software. This can take 1-2 minutes. The fans will briefly quiet down and then spin up again.
Step 6: Verify on the Gokby Dashboard
Wait about 5 to 10 minutes. Then go to the Gokby website and enter your wallet address in the search bar or log in to your account.
You should now see that your worker is “Active” and the hashrate is slowly climbing.
Congratulations! You are now part of the Gokby network and mining Bitcoin!

